Spline-Based Workflow
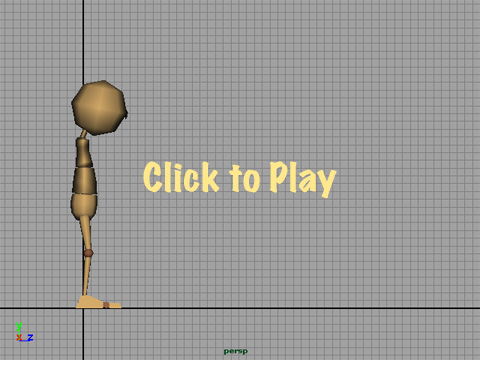
Now I'm going to show you my process of getting from blocking with stepped curves into rough animation with smooth curves. The example animation below is a simple jump using the "Stewie" model from AnimationMentor.com. I don't want this to swell into a full-blown workflow tutorial, so I won't be showing how I plan and block my shot, nor will I take the animation to completion. I'll be focusing just on the "second act" of my work flow - the transition from blocking to rough animation. The animation clips feature little red dots that show you the arcs and spacing in the hips and other body parts so that you can see how the splines affect them.
Blocking: I've blocked my animation in a pose-to-pose style using stepped curves, and I've broken it down so that there is a key at least every four frames. I've made sure to set a key on every control for every pose. Even for holds where the character does not move I add in extra keys. All these keys will come in handy later for controlling my timing and preventing key-drift.
Here is the blocking and the Z and Y translation splines for the character's root (hips). Even though they are in stepped mode you can still see where the eases are happening.

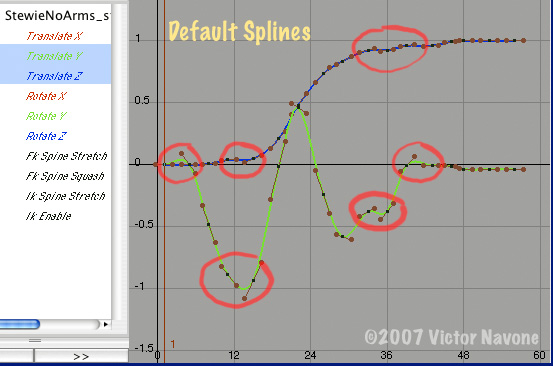
Converting to Splines: Once you convert from stepped curves to splines you are potentially in for a lot of pain. Your nice, snappy timing can get watered down, and the model can behave in unpredictable ways between your keys. Even if you use the "copied pairs" method of blocking there is potential for the timing to get away from you if you don't take control of the splines. Here is what my animation would look like if I simply converted all my stepped keys into splines:

Notice how the animation looks wobbly and the red dots are clumped in places, such as frames 10-15, 32-37, 38-43. See also that the feet slip on the ground and don't feel rooted. This is because the default spline smoothing allows the splines to travel beyond the keys, which as I mentioned in the Spline Hygiene section, is very naughty because it gives us unwanted overshoots.
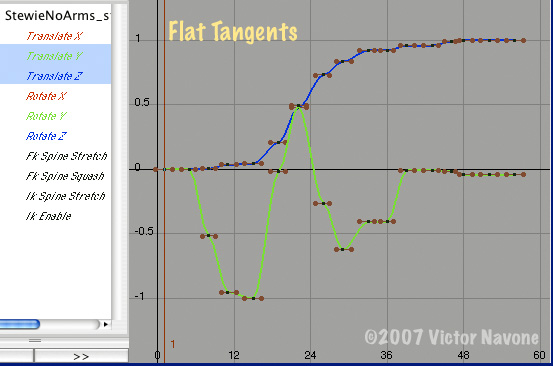
The best way to come out of stepped curves is to convert all of your keys to flat tangents. From there you can determine yourself which tangent handles should be smoothed. Here is my animation with flat tangents:

Obviously it's not pretty yet (the spacing during the jump is particularly ugly, as the dots show) but the range of motion is much truer to the blocking and maintains a similar timing. I've also stopped feet from slipping. Now it's time to start applying some of the timing principles from Part 1 and the hygiene principles to do a first smoothing pass on these splines. I'll start with the root (which is a very fine place to start) then later work up through the torso and head, and eventually on to the legs.
